PokePath TD Route 2-1 Guide: Ultimate Strategy to Beat Raikou
Route 2-1 marks the beginning of the second region in PokePath TD. While the grassy aesthetics might remind you of Route 1, the difficulty ramps up significantly.
The map features a tricky Crossroads Layout where enemies can take multiple paths, and it culminates in a battle against Raikou, one of the Legendary Beasts. Raikou is notorious for his incredible movement speed, often sprinting past defenses before they can deal lethal damage.
In this guide, we will analyze the map, break down Raikou's weaknesses, and provide the exact 10-unit team composition you need to secure victory.
🗺️ Map Analysis: The Crossroads Trap
Understanding the terrain of Route 2-1 is half the battle.
- Spawn Point (Top Center): Enemies spawn from the top and move down into the central intersection.
- The Crossroads (Center): This is the most critical area. Enemies will split and weave through this zone. Your towers MUST cover this intersection to be effective.
- The High Ground (Top Left): There is a large mountain area on the left. This is the perfect spot for long-range units (like Absol or Noivern) to snipe enemies as they spawn.
- The Exit (Bottom Right): All paths eventually converge here. This is your "Last Stand" zone.
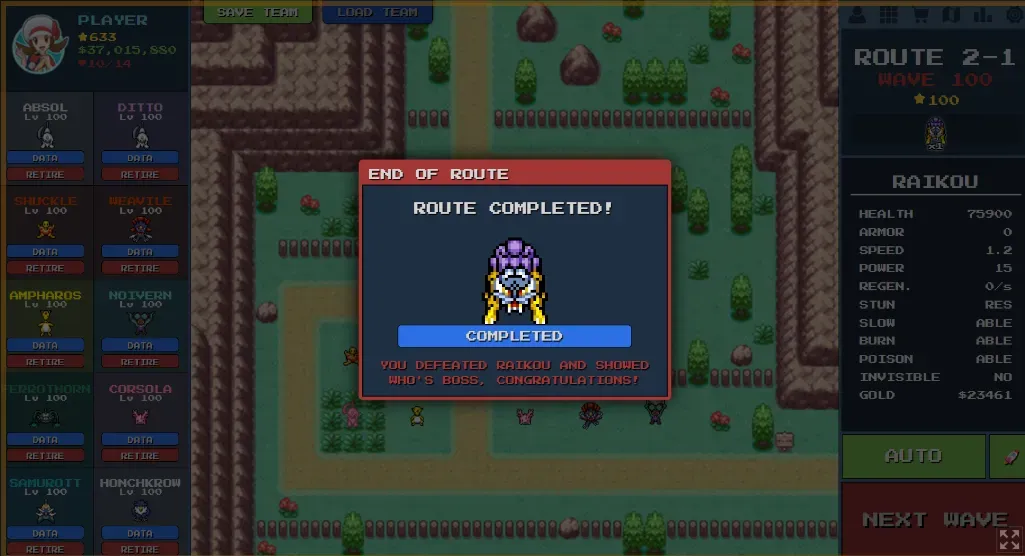
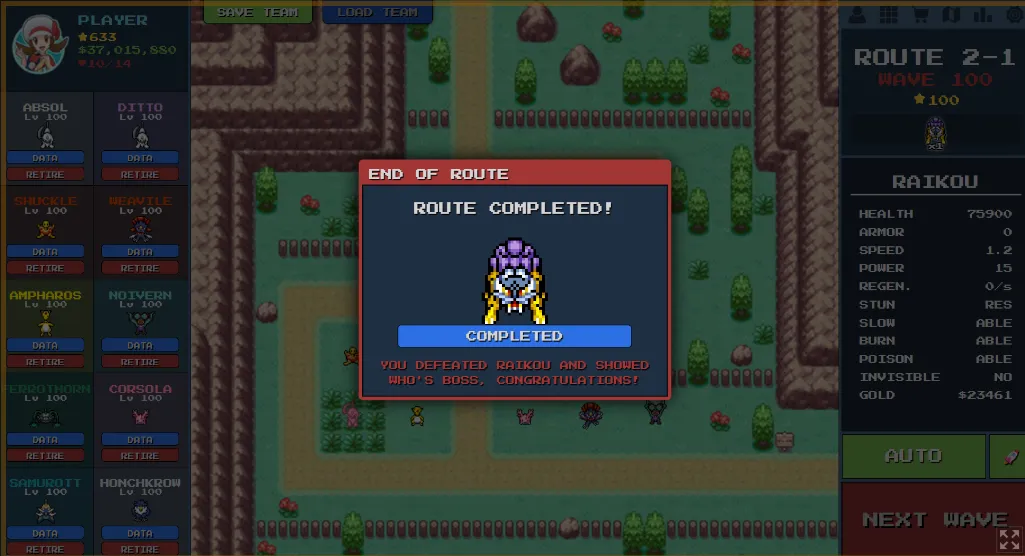
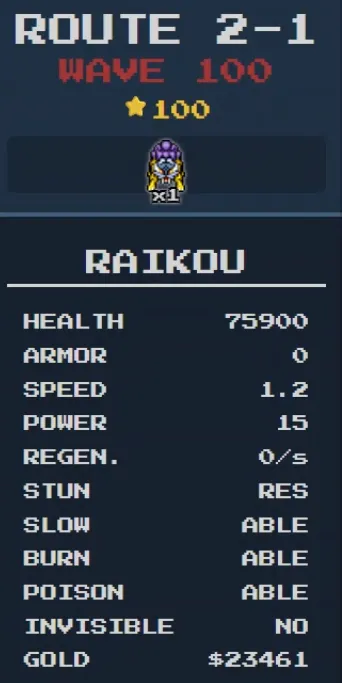
⚡ Boss Profile: Raikou (Wave 100)
- Name: Raikou
- Type: Electric
- Stats: High HP, Very High Speed (1.2).
- Ability: Unlike some bosses, Raikou isn't just tanky; he is fast. If you don't have Slow or Stun effects, he will run through your map in seconds.
- Weakness: He is susceptible to physical burst damage and crowd control.
🏆 The Best Team Composition (Level 100 Meta)
We recommend a "Control & Burst" hybrid team. Since Raikou is fast, we need to slow him down (Control) and then hit him with critical strikes (Burst).
1. The Mountain Snipers (Left Flank)
- Absol (Level 100):
- Placement: Top Left Mountain.
- Why? Absol's passive deals increasing damage for every consecutive hit. By placing him on the high ground near the spawn, he can lock onto Raikou early and start stacking damage immediately.
- Ditto (Copying Absol):
- Placement: Next to Absol.
- Why? Two Absols are better than one. This doubles your scaling damage output.
- Shuckle / Honchkrow:
- Placement: Left side.
- Why? Honchkrow provides Anti-Invisible vision for earlier waves, ensuring no ghost types leak.
2. The "Quicksand" Zone (Center)
This is where the magic happens. You need to turn the fast-paced Crossroads into a slow-motion nightmare for Raikou.
- Corsola:
- Placement: Center Field.
- Why? At Level 100, Corsola has a massive 300 Range. Its ring attack applies a global slow, countering Raikou's high speed stat.
- Ferrothorn:
- Placement: Near the path intersection.
- Why? Ferrothorn's attacks apply a secondary slow effect. Stacking this with Corsola makes Raikou crawl.
- Ampharos:
- Placement: Bottom Left / Center.
- Why? Hard Stun. Ampharos has a chance to Paralyze the target. A lucky stun in the middle of the map allows your Absol and Weavile to get free hits.
3. The Execution Squad (Right Flank)
If Raikou survives the slow zone, he enters the kill zone on the right.
- Weavile:
- Placement: Center Right.
- Why? Weavile is the DPS King. With a 65% Crit Rate and Double Crit Damage, it can delete Raikou's remaining HP bar in seconds.
- Noivern:
- Placement: Right side.
- Why? Good AOE coverage for cleaning up any minions that accompany the boss.
📝 Step-by-Step Victory Guide
Phase 1: Early Game (Waves 1-50)
- Focus on placing Noivern and Corsola first. Their AOE damage will clear the swarms of weak enemies easily.
- Place Honchkrow before Wave 40 to counter invisible enemies.
Phase 2: Mid Game (Waves 51-99)
- Build up your Boss Killers. Deploy Absol, Ditto, and Weavile.
- Upgrade them as much as possible. Level 100 is ideal, but Level 50+ works too.
Phase 3: The Boss Fight (Wave 100)
- Raikou Spawns: He will move fast. Don't panic.
- The Lock-On: Your Absol duo on the mountain will start hitting him. Watch his HP bar turn red.
- The Slow: As he hits the center, Corsola and Ferrothorn will slow him down.
- The Kill: Even if he passes the center, Weavile is waiting on the right to deliver the final blow.
❓ FAQ
Q: Can I use Ground types against Raikou? A: Yes! Excadrill or Flygon are excellent choices because Ground is super effective against Electric. However, our Absol/Weavile strategy relies on raw Neutral DPS, which is often more consistent if you have high levels.
Q: What if I don't have a Level 100 Ditto? A: You can simply place another high-DPS unit like Tyranitar or Garchomp (if available) or another Absol. Ditto is just the most efficient way to duplicate your strongest unit.